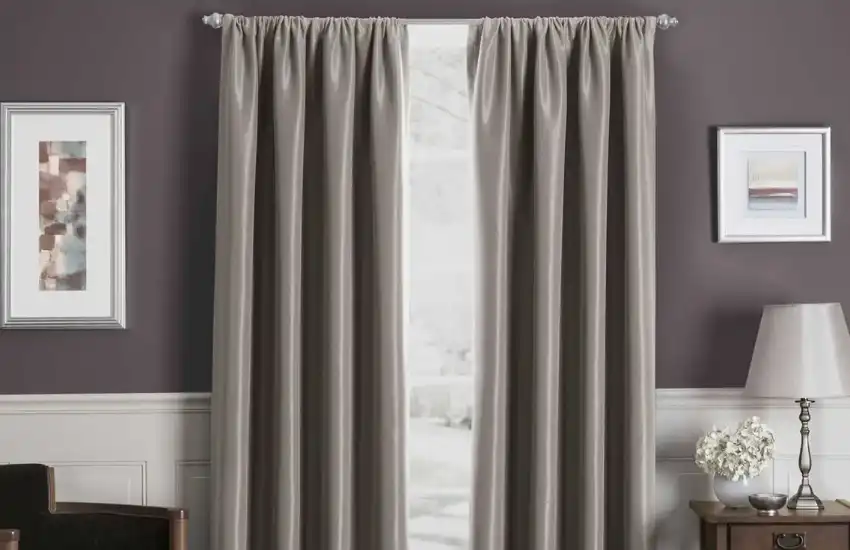
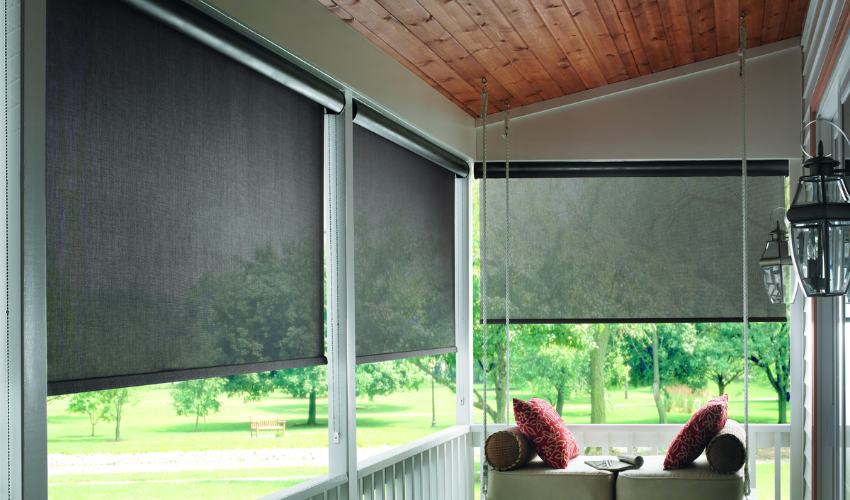
Door blinds are a basic necessity for every home interior not just in decorative but functional aspects as well. For the instant beautification and functionality integration of your sliding glass doors, these blinds are an exceptional choice. For these sliding doors, you can pick panel, sheer, roller, and vertical blinds and shades for a distinctive finish.
After you select your desired treatment, now’s the time for installation that can be carried out with professional help or DIY performed. If you are low on budget and want to DIY install blinds, here is the blinds fitting guide by Online Curtains for you with a detailed procedure.
Step By Step Guide To Cover Your Sliding Glass Doors With Blinds
Effective, flawless, and timeless installation of blinds requires basic skills and requisite tools. Let’s initiate the process by gathering the supplies and equipment.
What Tools & Supplies You’ll Need?
To begin with the window covering fitting process, you must have the below-mentioned tools handy.
- Tape Measure
- Electric Screw Driver
- Pencil or Marker
- Claw Hammer
- Paper or Notebook
- Blinds Hardware
- Straight-Edge Level
- Step Ladder
- Safety Gloves & Mask
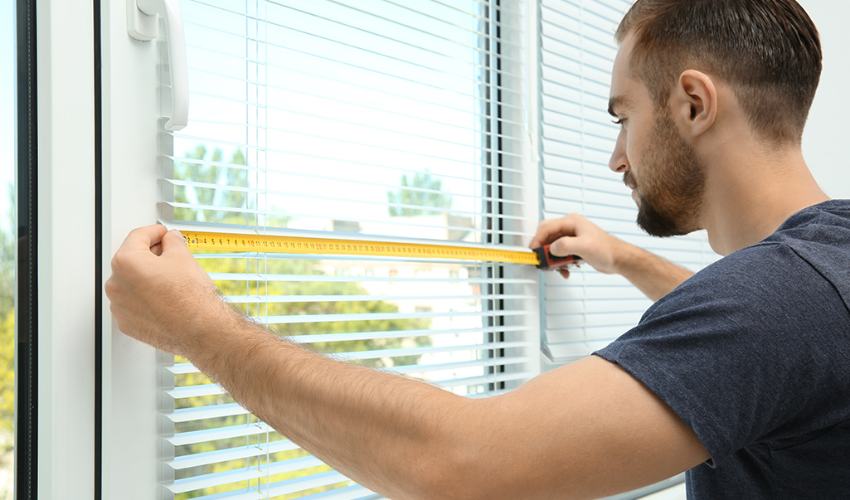
Step1: Take Accurate Measurements
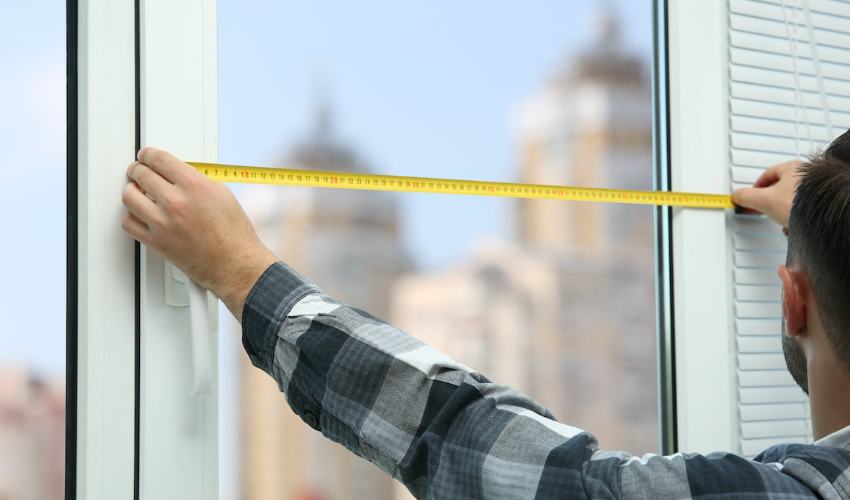
Measurement is the first and foremost essential step in which you decide between the inside or outside mount depending on the door type. Take measurements in the “width x height” to get accurate details using the tape measure. Depending on your personal preferences, you can decide on the height from the door’s top. However, the width must be accurately extended for about 4-6 inches from both sides for complete coverage. Note down the precise measurement detail on a notebook or paper with the help of a pencil or marker.
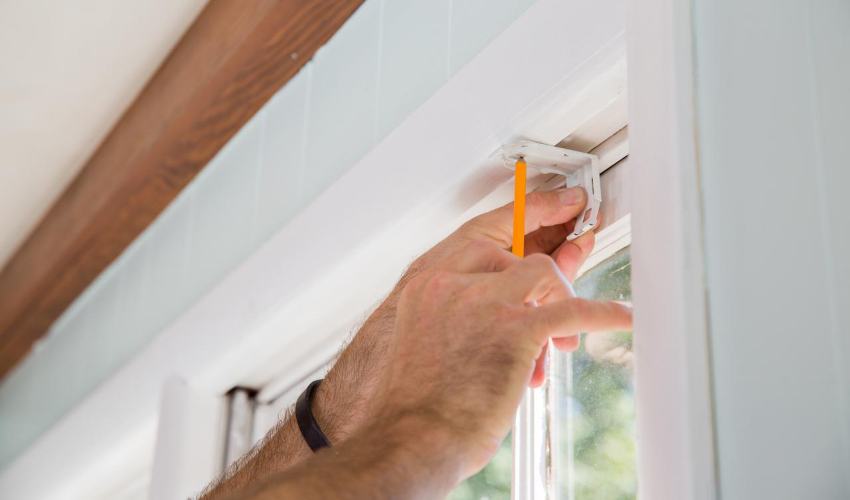
Step2: Mark The Measurements
After you collect the measurement details, it’s time to mark the points on the walls for indication purposes. Use a pencil to mark the dots on walls, making use of a level to ensure precision. Mark dots on the walls on both sides of the door, ensuring they are drawn at equal heights and distances in between. Also, make use of a pencil so that the wrong mark placement can be removed or erased.
Step3: Drill Pilot Holes & Install Brackets
Now that you have marked the measurements, wear safety goggles and a mask before using a drill. Drill small holes using a 3/8-inch drill bit so that screws or anchors go in perfectly without any loose attachments. After crafting these holes, insert the screws or wall anchors inside the walls and fit them perfectly by tapping with a claw hammer.
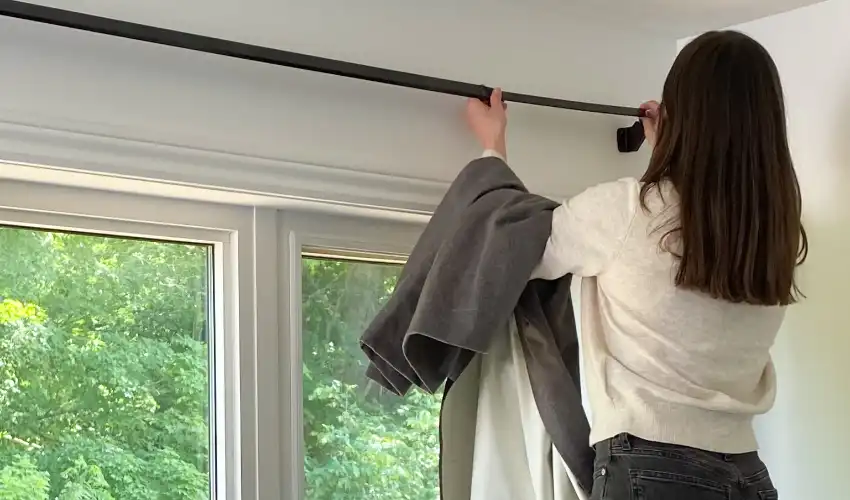
Step4: Assemble And Finish
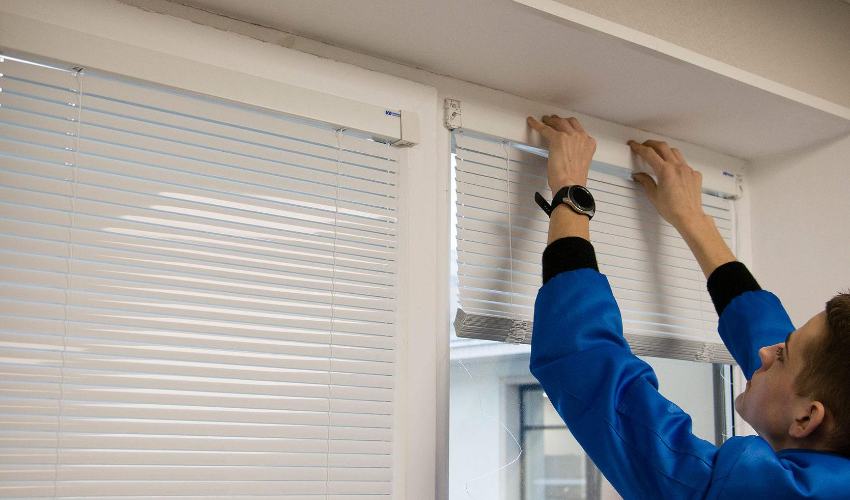
Once you set up the brackets, now’s the time for track installation. Take your fit-to-size panel or blind tracks and slot them into their respective places. These tracks can be inserted into slots using a click system timelessly. Now set your blinds carriers in their place, ensuring they face in the same direction, and test the operating mechanism if they are working properly. Double-check the functioning and directions to see if all finishes or curves are facing the same way.
Final Note!
Covering doors with blinds is the most ideal and effective way to enhance style, practicality, comfort, and aesthetics. These blinds and shades can be effectively installed on doors with the basic knowledge assessment and availability of the right tools. When you have all the tools handy, it ensures a smooth and hassle-free process.
First, decide on the inside and outside mount and take length and width dimensions accordingly. Then, mark the placement for indication purposes to drill the pilot holes for bracket installation at both sides of these glass/ sliding doors. Lastly, mount and assemble your blinds on doors after bracket fittings and give the finishing touches with the addition of decorative finials or bracket holders.