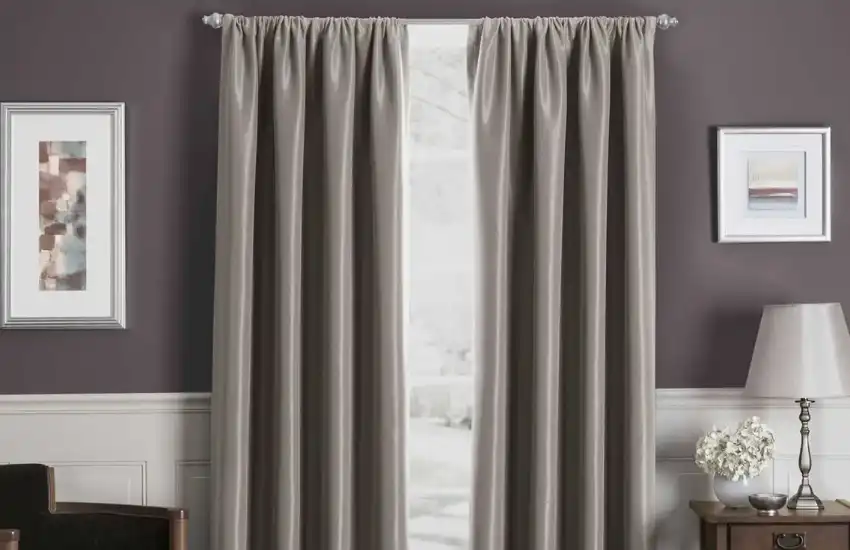
Blackout window curtains are an entirely beneficial and aesthetically versatile option of window treatment. In addition to effective room darkening, they offer a range of other benefits such as sound dampening, room insulation, energy efficiency and privacy protection. Besides, you can create any desired interior decor with these sleek and attractive curtains. Not to mention the major plus point of their easy maintenance demands.
However, all the advantages, specifically maximum room darkening, can only be achieved if the blackout drapes are installed properly. Speaking of the fitting, you don’t really need to pay the professionals to do the job; you can easily carry it out yourself. Online Curtains is here to help you at all steps of this home improvement.
DIY Blackout Window Curtain Installation | Everything You Need To Know

We’ve got you the simplest yet most efficient guide on fitting your blackout curtains, in order to add plenty of comfort and coziness to your interiors. This way, you can not just save a lot of bucks but can also design your drapes and decorate your windows just how you want.
Let’s get going!
Stuff To Grab
- Blackout Window Curtains (of course!)
- Curtain Rod(s)
- Curtain Rod Brackets
- Level
- Screwdriver
- Drill
- Wall Anchors (optional)
- Step Ladder (optional)
Easy And Simple Steps For Blackout Drapes Installation

Up ahead, is a convenient method to fit your room darkening curtains.
-
Measuring The Windows
Start by measuring the width of your windows and add up to 6 to 12 inches to the obtained result. Determine how long you want your curtains, along with an addition of nearly 4 to 6 inches for hemming and rod fitting.
-
Installation Of Rod Brackets
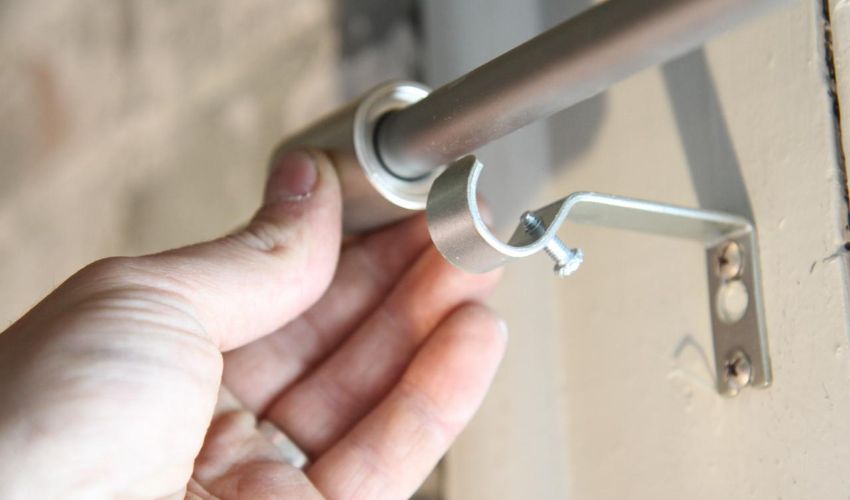
Determine the points where you’ll be installing your curtain rod brackets and have them at an equal height with the help of the level. Hold the rod brackets next to the wall, followed by marking holes for inserting the screws.
-
Drilling The Holes
At this point, you’ll need to drill pilot holes for fitting your screws. Once done, you can have your curtain rod brackets screwed into the wall.
-
Hanging The Curtains
Pass your curtain rod through the brackets you’ve installed. Slide the grommets, rod pockets or tabs of your blackout window curtains over the curtain rod and you’ll be done with the installation.
-
Adjustments And Finishing Touches
Check the working of your curtains by moving them and make all the necessary adjustments to the fabric panel.
With these convenient steps, you can transform your home decor and make it incredibly comfortable.
Additional Guidelines For Achieving The Perfect Blackout Window Treatment

Here are some bonus tips to help you during the DIY curtain installation.
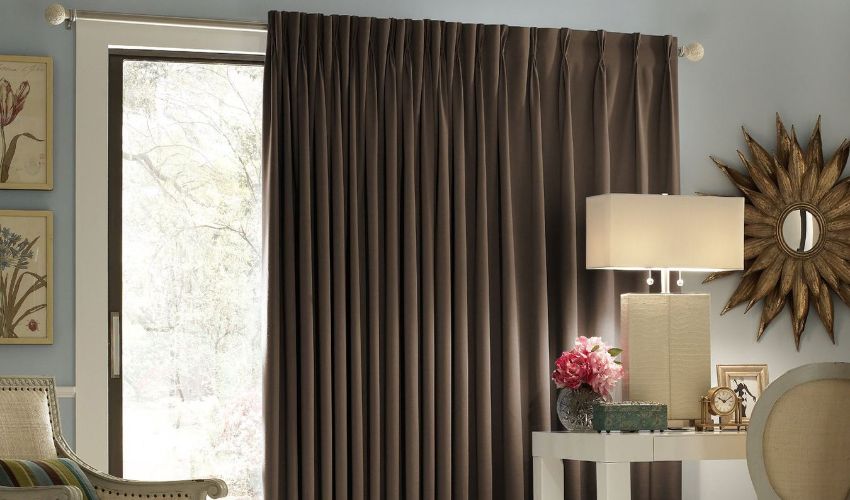
- To secure your curtains and to give them a presentable look, invest in sturdy and decorative finials for the ends of your curtain rod(s).
- Make use of wall anchors if you’re working with drywalls. They have a better holding tendency and will also keep the drywall safe from all kinds of damages.
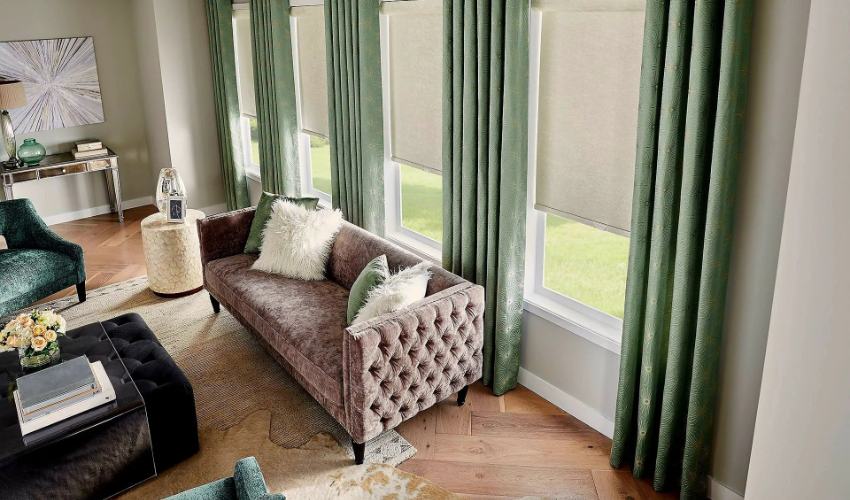
- Get full-length or floor-to-ceiling blackout drapes to have a complete blackout, privacy protection and interior insulation.
- If you want some natural light to enter your place, then pairing blackouts with a translucent or transparent curtain fabric like sheers can be a great idea.
- Accessories like tiebacks, holdbacks, tasseles, valances and/or cornices can always be handy if you want to spice up the look of your plain blackout window curtains.
- Install your curtain rod at least around 4 to 8 inches above the window frame’s top. This will make your windows look longer and will also offer more effective room darkening.
To Sum Up
This was our take on How to hang your blackout curtainsin a couple of easy steps. Investing in room darkening or blackout window drapes is always a really advantageous and cost-effective decision. And of course, you would want to benefit maximally from your curtains, which makes learning the installation process important. Doing so will save you a reasonable amount of time and money. Besides, you’ll find this DIY installation project to be extremely fun if you’re a DIY enthusiast. Not to mention that you can use these guidelines for other window and door curtains as well!