Are you going to have a new home window treatment and are concerned about getting everything right? Online Curtains presents to you this incredibly helpful guide for taking accurate window measurements and fitting your chosen curtains flawlessly for the best results. After all, the importance of the right preparation and installation is undeniable for creating a window decor that’s supremely functional, easy to deal with, and long-lasting.
All-inclusive Guide For Perfect Window Treatments
1. Taking Measurements
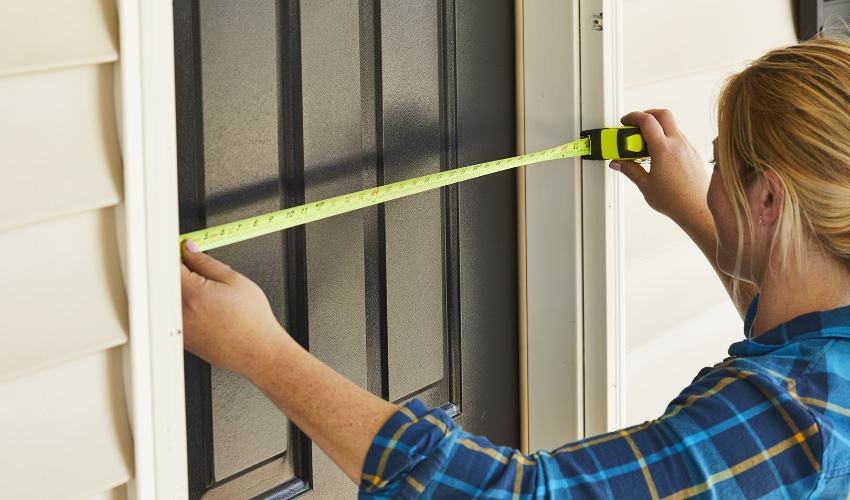
The first step of measuring your windows for a drapery addition is to decide on a suitable mount type, which in turn, is important for determining fabric width. There are two of them and you can make a selection according to your requirements.
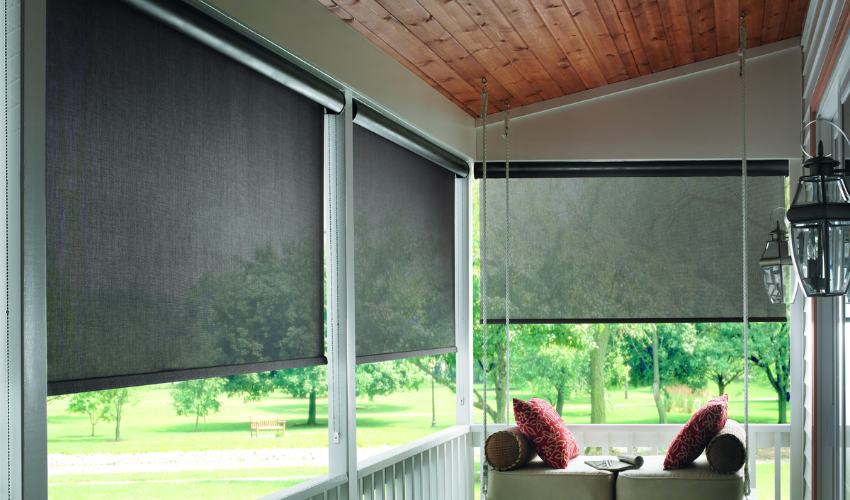
2: Inside Mount
- In this mount, the rod is fitted inside the window frame for a space-saving covering.
- Measure the entire width of the window and note it down.
- This option helps prevent the entrance of intense sunlight or winds.
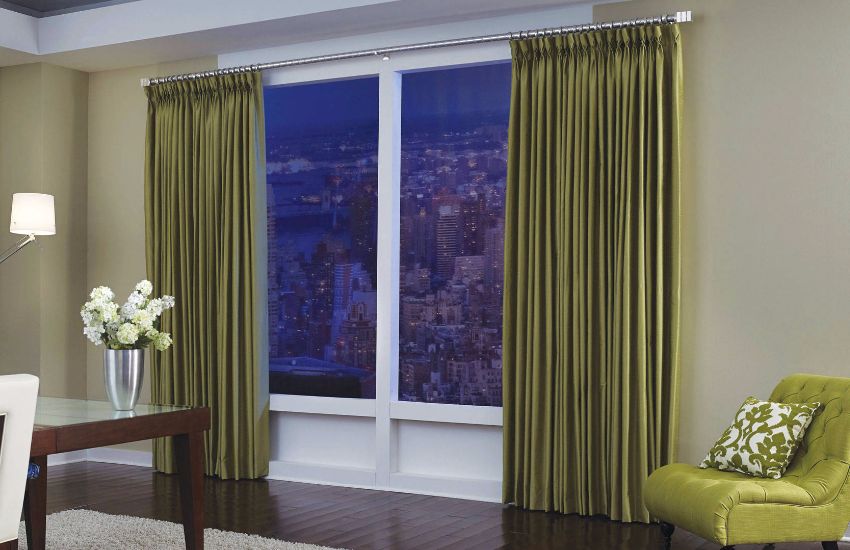
3: Outside Mount
- In this mount, the rod is fitted outside the window frame for an elongated effect.
- Measure the window casing from edge to edge at the top and add 3 to 6 inches on either side.
- This option makes small windows appear larger and also makes the room brighter.
Next comes determining the length of the drapery. Curtains have three major length types and you can go for any option which works for the look of your room and the kind of window decor you want to create.
4: Sill Length
- In this fitting, the curtains will be hung to the end of the window sill.
- Measure the length from the curtain rod’s top to the top of the window sill.
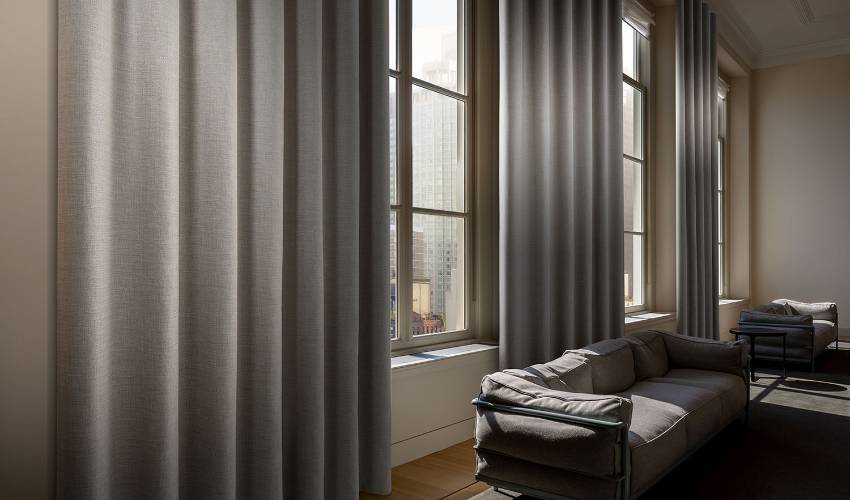
5: Floor-to-ceiling
- In this installation, the curtains hang right above the floor, or may brush it lightly.
- Measure the length from the curtain rod’s top to your desired endpoint and leave around half an inch from the floor.
6: Puddle Length
- This refers to drapery that pools on the floor for a fuller and more luxurious look.
- Measure length similar to the full-length measurement and add up to 6 to 12 inches to it or as much as you prefer.
Installing Curtains

Installing drapery involves four major steps:
- Marking The Bracket Points: Position curtain rod brackets and align them with the help of a level. Mark the points of their placement.
- Drilling Pilot Holes: Start by drilling pilot holes at the marks you’ve made earlier and screw in the curtain rod brackets.
- Hanging The Curtain Panels: Attach the drapery to the rod through their pockets/grommets/rings/hooks.
- Mounting The Curtain Rod: Install the rod into the brackets and secure it properly and screw in the decorative finials (if any).
Once you get the rod along with curtains in place, adjust them according to your liking.
Additional Tips For Efficient Drapery Installation

- Always take into the weight of your chosen drapery and get all the hardware, particularly the curtain rod according to it for maximum and long-lasting support.
- In case of multiple curtain panels, make sure you use double curtain rods.
- Make use of a laser level for an accurately horizontal curtain rod and professional-like finish.
- Iron your drapery after hanging it for a polished look.
- Always ensure to take double measurements.
In Conclusion
This was our presentation of some helpful tips to measure and install a window drapery with perfection. We’ve gathered many hacks and guidelines so that you can easily carry out all the prep work for your window treatment and don’t need any costly professional services. A good and long-lasting window covering starts with the right kind of measurements and the rest of its beauty and worth comes from adequate fitting. Hoping for our brief yet beneficial guide to be extremely fruitful for you!